Stripped Screw Head: Low-Risk Steps Before Drilling or Extraction
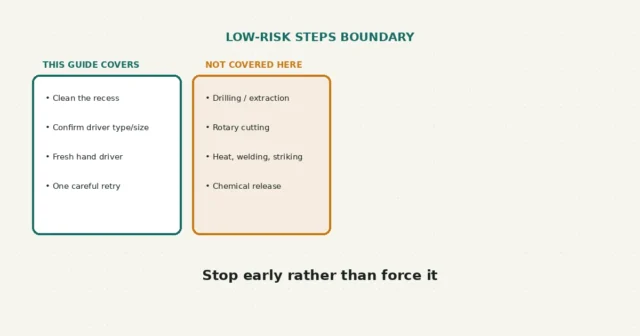
Cleaning the recess and trying a fresh, correctly matched hand driver comes before drilling or powered extraction. This guide stops…
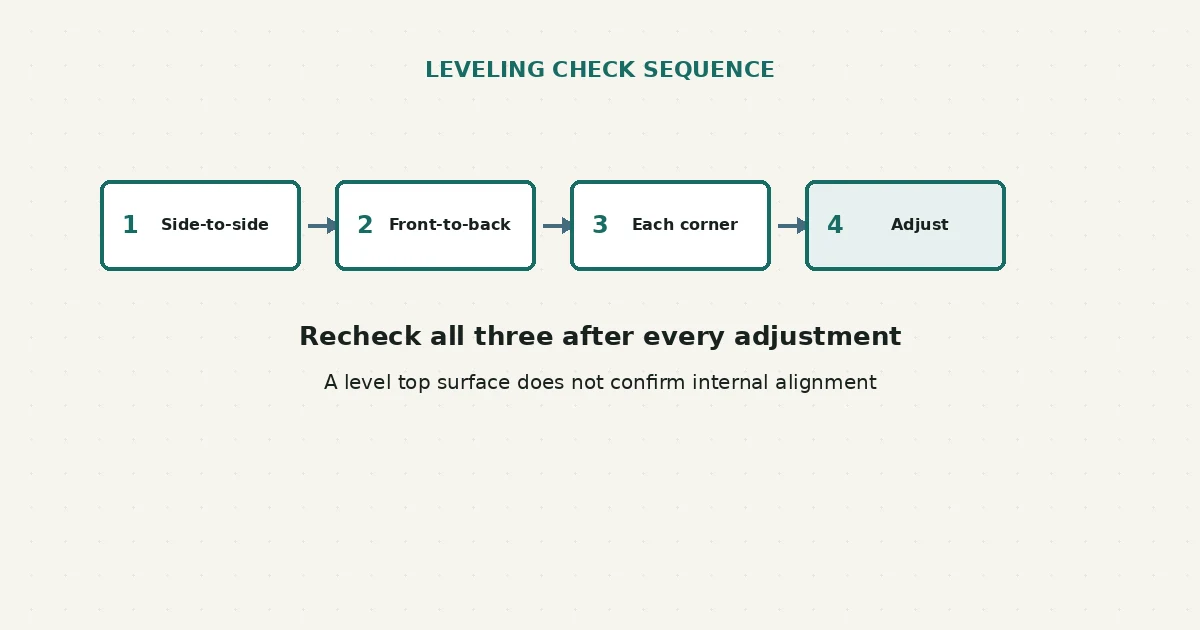
Leveling a freestanding appliance means adjusting the manufacturer-provided feet from outside the unit — it doesn’t mean tilting, lifting, or moving a heavy appliance alone. Front-to-back, side-to-side, and corner stability are three separate checks, and a level top surface alone doesn’t confirm everything inside is aligned correctly.
Check your model’s manual first — leveling direction, foot design, and whether a slight intentional tilt is expected vary by appliance and model. Follow its shutdown instructions before moving or adjusting the unit. Place a bubble level on the reference surface the manual identifies, check side-to-side and front-to-back separately, and adjust accessible feet in small increments. Get help for anything heavy, and stop if the appliance is unstable or cannot be corrected through the manual’s user-accessible procedure.
This guide is limited to externally accessible observation and adjustment of manufacturer-identified leveling feet on a freestanding appliance — one that sits on the floor and isn’t built into cabinetry. Built-in appliances, gas-connected units, stacked laundry pairs, wall-mounted equipment, anything requiring you to disconnect water, gas, or electrical connections, and any unit that can’t be safely moved by the people available to you are all outside this guide’s scope.
Manufacturer instructions control several things this guide can’t generalize: whether your specific model should sit perfectly level or with an intentional slight tilt, exactly how the feet or rollers adjust, and whether locknuts or anti-tip hardware are present and need to stay engaged. Whirlpool’s own leveling instructions for refrigerators, for example, describe a deliberate slight rearward tilt so the doors self-close — a chest freezer from the same manufacturer is leveled differently, front-to-back and side-to-side, for a different reason: so the lid seals properly. These are two different goals for two different appliance types, not one universal target.
| What you observe | What it may suggest | What it does not confirm |
|---|---|---|
| Bubble centered side-to-side and front-to-back | The top surface is reading level or at the tilt your manual describes | That internal components, such as a compressor mount or drum suspension, are correctly aligned |
| The upright appliance moves under a light stability check allowed by its manual | One or more feet may not be bearing weight, or the floor may be uneven | Which foot needs adjustment, or that further movement is safe |
| Doors or a lid close and seal differently than before | May reflect the leveling change, or a separate issue with the door/lid itself | That leveling alone caused or fixed the behavior — reassess after leveling is complete |
| Appliance still rocks after adjusting all accessible feet | May involve an uneven floor, a seized or bent foot, or a foot not reaching the floor | That further force on the feet will resolve it — this is a reasonable stop point |
A level reading is a useful, genuine observation — but it depends on the level’s own accuracy, the flatness of the surface you rest it on, debris under the level, and your specific appliance’s design. Treat it as a starting point, not a final proof of correct installation.
This guide covers checking and adjusting manufacturer-identified leveling feet on a freestanding appliance from outside the unit. It does not cover built-in appliances, gas-connected units, stacked laundry pairs, wall-mounted equipment, disconnecting water/gas/electrical connections, or moving equipment heavier than you and any available helper can safely manage. It does not diagnose internal alignment, compressor mounting, or drum suspension from a level top-surface reading alone. According to CPSC’s range tipover safety alert, an estimated yearly average of 1,700 appliance-related instability and tipover injuries were treated in hospital emergency departments during 2006–2008 — a reminder that anti-tip hardware, where your appliance uses it, should stay engaged and isn’t something to remove for convenience during leveling.
No — this varies by appliance and model. Some refrigerators, for example, are intentionally set slightly higher in front so the doors self-close; a chest freezer may have a different target. Follow your specific manual rather than assuming one universal goal.
Get a helper for anything you can’t comfortably and safely manage alone. Manufacturer guidance for at least one appliance type specifically recommends having someone help take weight off the unit during adjustment, which also reduces strain and tipping risk.
Some manufacturers describe using shims as part of their installation process, but the appropriate material and method are model-specific — this guide doesn’t recommend improvised materials, and your manual is the right place to check what’s approved.
Not necessarily — a level or correctly tilted top surface confirms the reading you took, not that every internal component is aligned or that all installation requirements are met. Follow your full manual’s installation guidance, not just the leveling step.
If you’re working on fasteners as part of accessing an appliance’s base grille or leveling feet, this driver-fit guide and this stripped-screw guide cover related low-risk approaches. And if you need a replacement fastener for a grille or bracket along the way, this measurement guide walks through what to check.
New to RFSE? See how to approach any RFSE guide safely, or browse the full Fix Basics hub for more guides like this one.
This guide is based on official manufacturer installation documentation and CPSC safety guidance current as of publication. Leveling direction, foot design, and safety hardware vary by appliance and model — always confirm against your exact unit’s manual.
Cleaning the recess and trying a fresh, correctly matched hand driver comes before drilling or powered extraction. This guide stops…
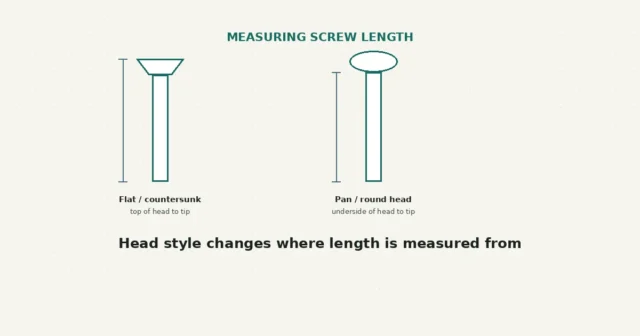
Length and diameter alone do not confirm a match. Thread pitch, head style and grade are separate attributes — a…