Stripped Screw Head: Low-Risk Steps Before Drilling or Extraction
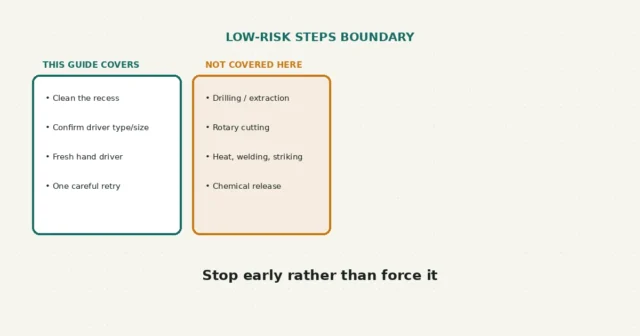
Cleaning the recess and trying a fresh, correctly matched hand driver comes before drilling or powered extraction. This guide stops…
Matching a replacement screw or bolt takes more than length and diameter. Thread pitch, head style, drive type, tip, material, and grade markings are separate attributes, and getting one wrong can mean a fastener that looks right but doesn’t actually fit or perform the way the original did.
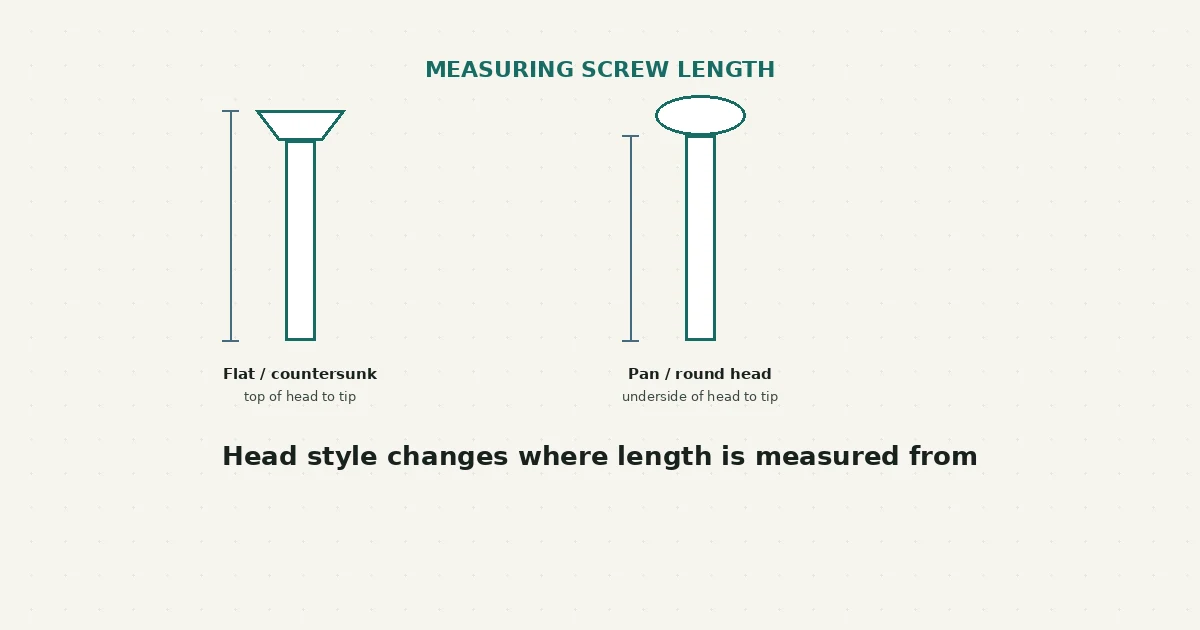
Measure length and diameter carefully, noting that where you start measuring length depends on the head style. Use a thread pitch gauge if you can, since a ruler alone may not distinguish fine pitches reliably. Record everything in the original unit of measurement, and treat any metric-to-imperial conversion as a reference note, not a rounded substitute. A known matching nut can check thread engagement only; for a guard, hinge, safety-critical part, or any uncertain application, use the manufacturer’s exact part specification or qualified help.
A fastener is defined by several independent attributes, and matching only one or two of them doesn’t mean the replacement is actually suitable:
| Attribute | What it means | Why it matters on its own |
|---|---|---|
| Length | Overall length, measured from a reference point that depends on head style | Too long can bottom out or protrude; too short may not engage enough thread |
| Nominal diameter | The fastener’s designated size (e.g., 1/4 inch, M6) | Determines what it can thread into, but doesn’t confirm pitch |
| Thread pitch / TPI | How closely spaced the threads are — threads per inch (imperial) or millimeters between threads (metric) | Two fasteners with the same diameter can have different pitches and will not interchange |
| Head style | Flat/countersunk, pan, round, hex, socket cap, and others | Affects both appearance and how length is measured |
| Drive/recess | Phillips, Pozidriv, Torx, hex, slotted, and others | A separate question from thread fit — see RFSE’s driver-fit guide |
| Tip | Pointed, blunt, self-drilling, and others | Affects how the fastener starts into material |
| Material / finish | Steel, stainless, brass, plated, coated, and others | Affects corrosion resistance and compatibility — not reliably identifiable by color alone |
| Property / grade marking | Where applicable, head markings may identify a property class, grade, or maker | Meaning depends on the governing standard and cannot be inferred safely from appearance alone |
Matching length and diameter alone doesn’t confirm a replacement is suitable — thread pitch, head style, and grade can all differ between two fasteners that look similar at a glance.
| What you measured | What it may suggest | What it does not confirm |
|---|---|---|
| Length and diameter both appear to match | A plausible starting candidate | Thread pitch, grade, material suitability, or exact fit |
| A pitch gauge leaf seems to fit | A reasonable pitch estimate | The complete thread standard or application suitability; other attributes still require verification |
| The head color or finish looks similar to the original | Nothing specific on its own | Corrosion suitability, heat resistance, food-contact suitability, or electrical grounding function |
| A marking is visible on the head | Possibly a grade or property indicator | Its exact meaning, without cross-checking the specific standard it belongs to |
Measurement narrows down candidates — it doesn’t replace a verified specification when precision genuinely matters.
This guide covers measuring and recording a fastener’s attributes for comparison. It does not cover interpreting grade or property markings with certainty, verifying corrosion or heat suitability, or confirming a fastener is appropriate for a safety-critical, structural, gas, pressure, or electrical grounding application — those require exact manufacturer specification or a qualified professional, not a measurement alone.
Not reliably — the two systems can look similar at a glance. A thread pitch gauge or a test fit with a known nut is a more reliable way to confirm which system you’re dealing with.
No — treat a converted figure as a reference note only. Rounding it and calling it a standard size in the other measurement system can result in a fastener that doesn’t actually fit.
Not reliably — appearance alone doesn’t confirm material, corrosion resistance, or grade. If that matters for your application, verify it rather than guessing from color.
A manufacturer’s exact replacement specification is the strongest reference when available. A known matching nut can test thread engagement but cannot guarantee the correct length, head, material, coating, or strength. For critical applications, qualified technical assessment still needs the equipment specification.
Before you get to measuring a replacement, you may need to remove the original fastener — if it’s stripped, this guide to low-risk steps for a stripped screw head covers that first. And if you’re comparing driver types as part of identifying the original fastener, this driver-fit guide covers that separately from thread and length matching.
New to RFSE? See how to approach any RFSE guide safely, or browse the full Fix Basics hub for more guides like this one.
This guide uses ANSI’s overview of ASME B1.1 for Unified inch-thread terminology and Accu’s manufacturer engineering guide for general length, major-diameter, and pitch measurement conventions. Exact standards, grade meanings, tolerances, and application specifications vary, so manufacturer documentation or qualified technical help controls when precision matters.
Cleaning the recess and trying a fresh, correctly matched hand driver comes before drilling or powered extraction. This guide stops…
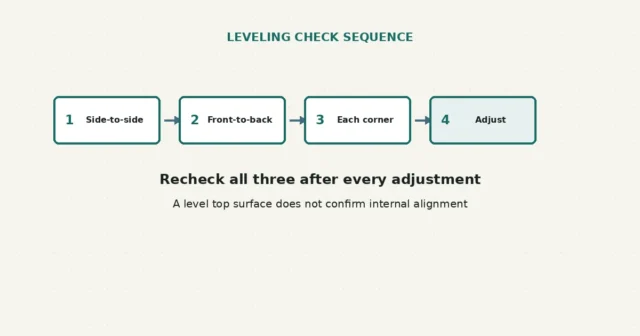
Front-to-back, side-to-side and corner checks are separate steps. A level top surface does not confirm internal alignment, and moving heavy…