How to Level a Freestanding Appliance Safely: Floor, Feet and Rechecks
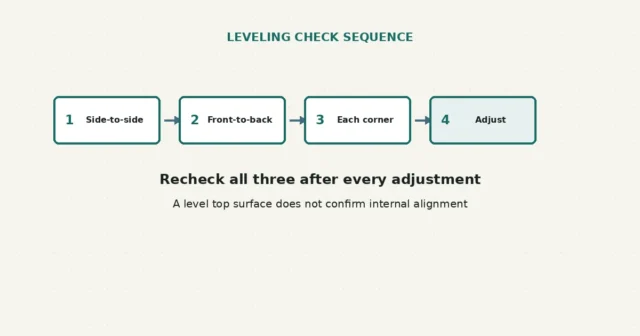
Front-to-back, side-to-side and corner checks are separate steps. A level top surface does not confirm internal alignment, and moving heavy…
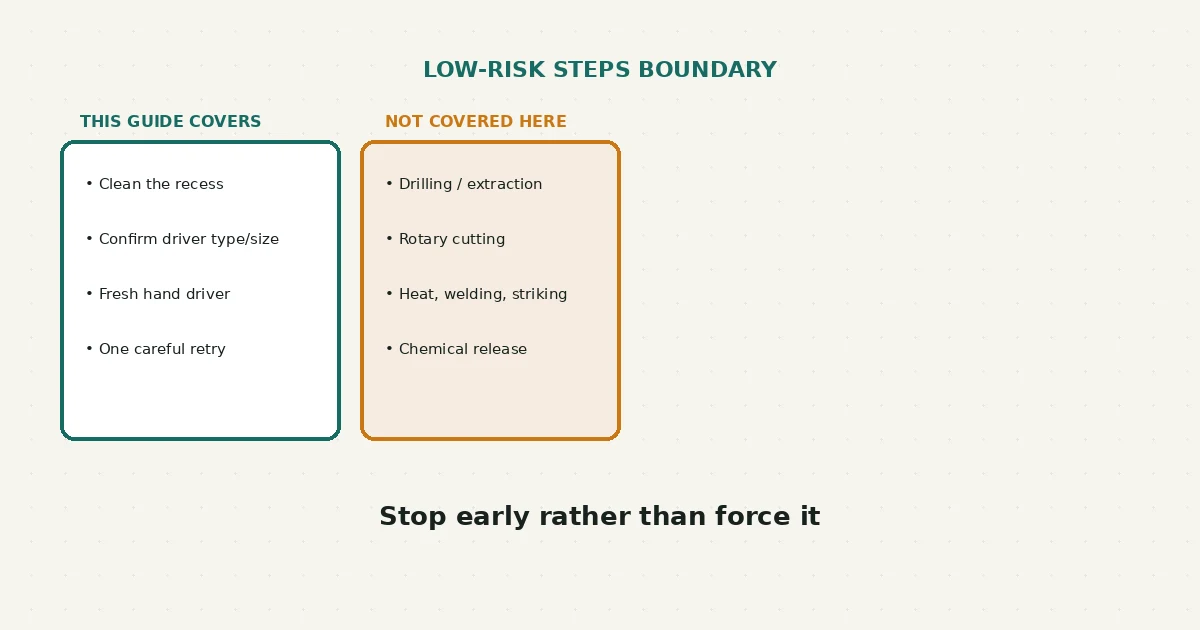
A stripped or rounded screw head doesn’t mean drilling or extraction is the next step. This guide covers only low-risk inspection and hand-tool methods to try first — cleaning the recess, confirming the exact driver type and size, and using a fresh, correctly matched driver. Drilling, powered extraction, cutting, heat, and destructive removal are outside what this guide walks through.
Make sure the equipment is shut down, unplugged, and stable before touching the fastener. Clean only loose debris from the recess, confirm the driver type and size — not just something close — and use an undamaged hand driver with steady axial pressure. If it slips again after a careful reassessment, stop rather than continuing to force it. Methods beyond this guide can damage the surrounding material and require equipment-specific guidance.
A screw head that’s already showing signs of wear is more prone to further damage with every additional slipping attempt. The goal of the steps here is to give the fastener the best chance of turning with minimal additional wear, and to recognize early when that’s not going to work — not to escalate force until something gives.
This guide is deliberately narrow. Drilling out a screw, using powered extraction tools, rotary cutting, cutting a new slot, welding, applying heat, striking the fastener, or any other destructive removal method carries real risk to surrounding material, nearby components, and you — and isn’t something this guide walks through step by step.
| What you observe | What it may suggest | Reasonable next step |
|---|---|---|
| Recess looks clean but the driver slipped once | Possible debris, slight misalignment, or a driver that wasn’t fully seated | Clean the recess and retry with careful alignment before assuming damage |
| Recess edges look slightly rounded but still have defined corners | Light wear — may still accept a fresh, correctly sized driver | Try one careful attempt with firm axial pressure and a confirmed correct driver |
| Recess is visibly rounded with shallow, indistinct corners | More significant damage — a hand driver is less likely to grip reliably | This is the point where this guide’s low-risk methods become less likely to help; consider stopping here |
| Screw head is loose in a way that suggests it’s spinning without turning the shaft | May indicate the fastener itself has failed internally, not just the recess | Outside this guide’s scope; a different approach is needed |
| Fastener resists any movement at all, even before slipping occurred | Possible corrosion, thread-locking compound, or it’s simply very tight | Treat as a stop condition for this guide rather than increasing force |
These are observations to help you judge whether the low-risk methods here are worth attempting, not a confirmed diagnosis of exactly what’s wrong with the fastener.
This guide covers cleaning, driver verification, and careful hand-tool attempts only. It does not walk through drilling, powered extraction tools, rotary cutting, cutting a new slot into the head, welding, heat application, or striking methods — those carry real risk to surrounding material and to you, and deserve their own careful research and, in many cases, a professional’s judgment. This guide also does not apply to fasteners that are recessed beyond reach, corroded, load-bearing, security-type, attached to glass, part of a sealed or pressurized assembly, near electrical, gas, or refrigerant components, or retaining a safety-critical part.
This guide does not walk through that process. Drilling permanently changes the fastener and can damage nearby material or components. Use the equipment manufacturer’s service guidance or a qualified repair professional rather than treating a general extraction tutorial as model-specific approval.
Not reliably, and it’s not appropriate for every situation — see the caution above. It’s mentioned here only so you understand its real limitations, not as a recommended first step.
This guide suggests one careful retry after an initial slip, with re-cleaning and re-checking in between. Repeated attempts without changing anything tend to worsen the recess rather than improve your odds.
Urgency doesn’t change the risk — forcing a damaged fastener under time pressure is more likely to make things worse, not less. If the situation is genuinely urgent and beyond what this guide covers, a professional is the safer route.
If you haven’t yet confirmed the driver type and size before this became a stripped-head situation, this driver-fit guide covers the identification step that helps prevent this in the first place. And if you end up needing a replacement fastener rather than removing the original, this guide to measuring a replacement screw or bolt walks through what to check.
New to RFSE? See how to approach any RFSE guide safely, or browse the full Fix Basics hub for more guides like this one.
OSHA’s general hand-tool guidance supports using the right tool, inspecting tools for damage, and following manufacturer instructions. TEKTON’s technical note supports the cross-tip compatibility discussion. Neither source endorses a universal stripped-screw extraction technique, so this guide deliberately stops before destructive or powered methods.
Front-to-back, side-to-side and corner checks are separate steps. A level top surface does not confirm internal alignment, and moving heavy…
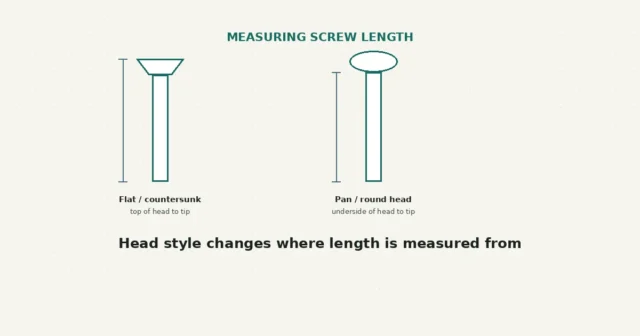
Length and diameter alone do not confirm a match. Thread pitch, head style and grade are separate attributes — a…