Dryer Takes Two Cycles: Safe Airflow Checks Before Service
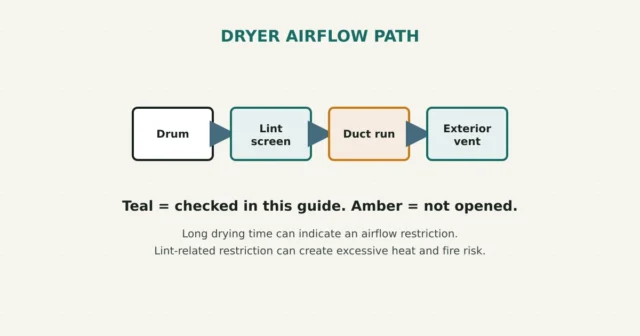
Longer drying time can indicate a blocked lint screen or exhaust path. Check the screen, load and exterior airflow, and…
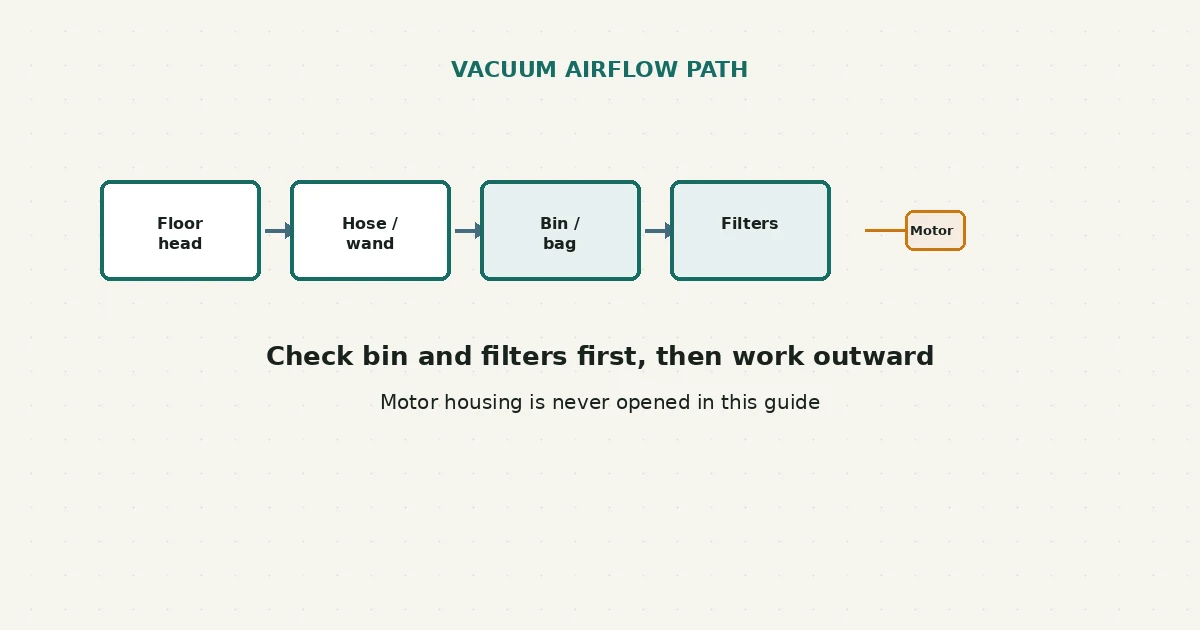
A full bin or bag, dirty filter, blockage, tangled floor head or poorly seated part can reduce vacuum suction. Those are useful user-level checks, but they do not explain every case; work through only the removable airflow-path parts identified in the exact model manual.
Unplug a corded vacuum, or power down a cordless model and remove the battery only if the manual supports removal. Check the bag or bin, filters, user-removable hose or wand, and floor head in the model’s prescribed order. If those checks do not restore performance, stop before sealed housings and contact the manufacturer.
A vacuum’s suction depends on air moving through the floor head, hose or wand, bag or bin, filters and motor path. A restriction or poor seal at a user-accessible point can reduce performance. Manufacturer guidance commonly asks owners to inspect bins, filters and blockages, but the available parts and correct sequence vary by model.
This matters because it’s easy to jump straight to the part that seems most obviously blocked, like the floor head, and miss a fuller bin or a clogged filter that’s actually the bigger contributor. Working through the path in order, rather than skipping to a guess, tends to find the actual restriction faster.
Suction loss can appear suddenly or build gradually. A sudden change after picking up a large object may justify checking for a model-accessible blockage; a gradual decline may justify checking the bag or bin and filter-maintenance status. These are observations, not a diagnosis.
| What you find | Possible explanation | Reasonable next step |
|---|---|---|
| Bin or bag at or near full | Reduced space for airflow and debris | Empty and check that the bin seals fully when reinstalled |
| Filters visibly dirty or overdue for cleaning | Clogged filters restrict airflow through the whole system | Clean or replace per your manual; dry fully before reinstalling if washed |
| Visible blockage or lump felt along the hose | Debris lodged in the hose or wand | Detach where your model allows and clear gently, without sharp tools |
| Brush roll not spinning or wrapped in hair/thread | Restricted or stalled brush roll | Clear per your manual’s brush-roll access instructions, with the vacuum unplugged or battery removed |
| Suction returns briefly after emptying but drops again quickly | Possible seal issue around the bin or filter housing | Check that all parts are seated and sealed correctly per your manual |
These are common patterns to help you decide where to look next, not a confirmed diagnosis — more than one of these can be present at once, especially if maintenance has lapsed for a while.
This guide covers the bin, filters, user-removable hose or wand, and manual-approved floor head or brush roll access — the parts most manufacturers identify as user-serviceable. It does not cover opening the motor housing, battery pack, charger, or a sealed cyclone assembly, and it does not cover electrical connector or safety-interlock work. If suction problems persist after working through the airflow path, or if you’re dealing with battery damage, a burning smell, or sparks, that’s a manufacturer or qualified-technician issue rather than something to continue troubleshooting yourself.
The same general airflow-path logic applies to both, but the specific parts differ — a bagged vacuum’s bag capacity and a bagless vacuum’s bin seal and cyclone are different failure points, so check the guidance specific to your model.
It can on some designs and with some debris, but use the marked fill line or the manual’s instruction rather than guessing from appearance. A persistent drop after emptying needs the next model-approved checks.
Reinstalling a filter before it’s fully dry is generally discouraged by manufacturers, since moisture reaching the motor area can cause damage — always confirm your filter is completely dry, which your manual may say takes 24 hours or longer.
Power modes can change both suction and runtime, but repeated pulsing, cutting out or a clear loss of pickup in one mode should be checked against the model’s alerts and troubleshooting steps. Do not assume it is normal or open the battery or motor housing.
If you’re working through more than one household cleaning appliance at once, the washing machine odor guide uses a similarly cautious, check-before-you-clean approach. And if lint and airflow are the theme of your day, the dryer airflow guide covers a related least-invasive checklist for a different appliance.
New to RFSE? See how to approach any RFSE guide safely, or browse the full Laundry & Cleaning hub for more guides like this one.
This guide is based on official manufacturer documentation current as of publication. Filter types, drying times, and brush-roll access vary by model — always confirm details against your exact vacuum’s manual.
Longer drying time can indicate a blocked lint screen or exhaust path. Check the screen, load and exterior airflow, and…
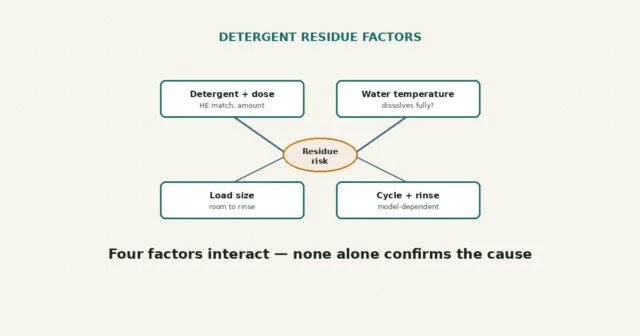
White residue may be undissolved detergent, lint or a soil–detergent interaction. HE compatibility, dose, load, water and cycle choices can…
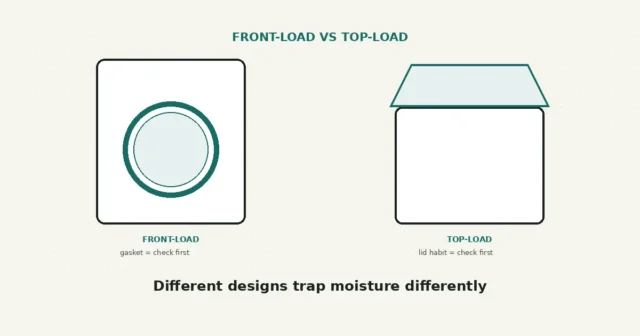
A musty smell may involve trapped moisture or residue, but odor alone cannot confirm mold. Compare front-load and top-load checks…