Electric Kettle Has White Scale: What It Is and How to Remove It
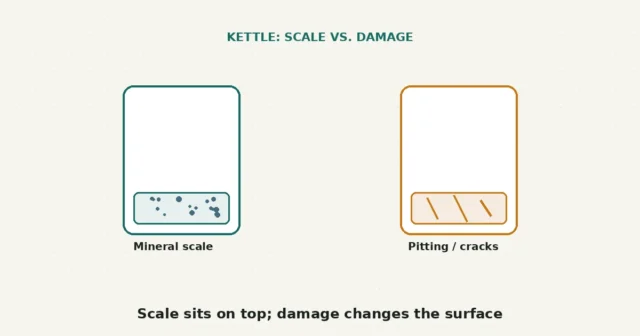
A white, chalky deposit is often mineral scale, but appearance alone cannot confirm it. Compare it with damage signs, then…
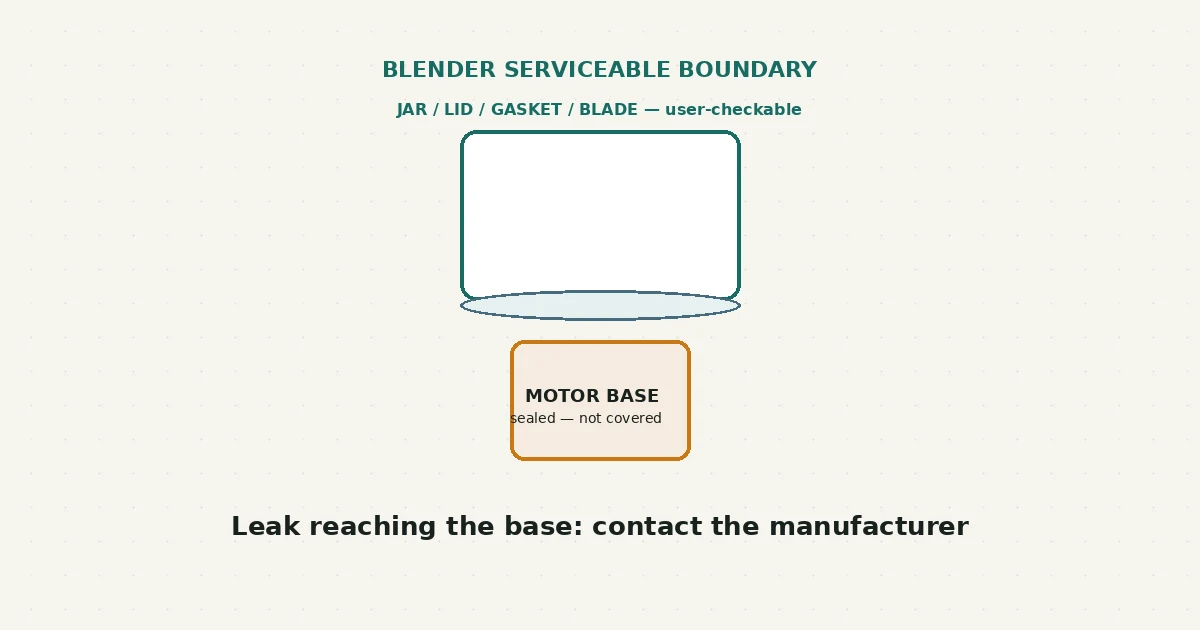
A blender leaking from the bottom usually comes from one of three user-checkable spots: the removable gasket between the jar and blade assembly, a cracked or warped jar, or a blade assembly that isn’t seated and tightened correctly. This guide covers only what most manufacturers identify as user-removable — the jar, lid, gasket, and blade assembly itself — and stops at the motor base.
Unplug the blender first. Then separate the jar from the base, remove the blade assembly according to your manual, and look closely at the rubber or silicone gasket between them. A worn, cracked, or missing gasket is the most common cause and is often user-replaceable with the correct part for your exact model. A cracked jar or a blade assembly that won’t tighten fully are the next most common causes.
Most countertop blenders seal the jar against the blade assembly with a removable gasket, then hold the whole assembly together with a threaded collar or ring. When you blend, that seal has to hold against real pressure, especially with thick mixtures or a full jar. If the gasket has worn thin, shifted out of its groove, or cracked, liquid can find its way past it and drip from the bottom. A hairline crack in the jar itself, invisible until liquid is under it, can do the same thing. And a blade assembly that isn’t threaded on evenly, or that has loosened over time, won’t compress the gasket enough to seal properly.
None of this points to a motor problem. The motor base is a separate, sealed unit that this guide does not cover opening.
It’s worth distinguishing a leak from ordinary splashing or condensation, too. A little liquid on the counter right after you lift the jar off the base can simply be residue from the outside of the jar or the underside of the lid, not a seal failure. What this guide is aimed at is liquid actively escaping from the seam between the jar and the blade assembly during or shortly after blending, which is the pattern most consistent with a gasket, jar, or tightening issue.
| What you observe | Possible explanation | Reasonable next step |
|---|---|---|
| Drips from directly under the blade assembly, jar empty of visible damage | Worn, misplaced, or missing gasket | Inspect and clean the gasket; replace with the correct part for your model if worn |
| Leak worse with thick or hot contents | Gasket compression may be marginal even if the gasket looks intact | Check that the blade assembly is threaded on fully and evenly before assuming the gasket itself has failed |
| Visible crack or chip in the jar, especially near the base | Physical damage to the jar | Replace the jar; a cracked jar generally cannot be repaired safely |
| Brown or oily residue around the blade assembly rather than clear liquid | May indicate the internal bearing seal in the blade assembly has broken down | This typically calls for a full blade assembly replacement rather than a gasket swap; check your manual or contact the manufacturer |
These are common patterns, not a confirmed diagnosis for your unit — inspect each possibility in order rather than assuming the first thing you notice is the only cause.
This guide covers the jar, lid, removable gasket, and blade assembly only, and only where your model’s manual identifies these as user-removable. It does not cover opening the motor base, defeating or bypassing the safety interlock that prevents the motor from running without the jar properly seated, or any internal electrical work. If a leak reaches the motor base, or if the base itself seems to be the source, that’s a manufacturer or qualified-technician issue rather than something to continue investigating yourself.
Manufacturers generally recommend using the part made for your exact model, since gasket dimensions differ between blenders even within the same brand’s lineup. A poorly fitting substitute can itself cause leaking.
Residual water from washing is different from an active leak during blending — dry the area fully and run a plain-water test to tell the two apart.
Thicker contents put more pressure on the seal during blending, which can reveal a gasket or tightening issue that a thinner liquid wouldn’t expose.
No — overtightening can crack the jar or distort the gasket, which tends to make leaking worse rather than better. Hand-tight, following your manual’s guidance, is generally the right amount of force.
If you’re troubleshooting more than one kitchen appliance at once, the air fryer odor guide uses a similar decision-first approach for a different kind of first-use concern. And if a mineral or residue buildup is showing up elsewhere in the kitchen, this hard-water-versus-detergent comparison may be relevant too.
New to RFSE? See how to approach any RFSE guide safely, or browse the full Kitchen Equipment hub for more guides like this one.
This guide is based on official manufacturer documentation current as of publication. Disassembly steps, part compatibility, and warranty terms vary by model — always confirm details against your exact blender’s manual, and contact the manufacturer for leaks that reach the motor base.
A white, chalky deposit is often mineral scale, but appearance alone cannot confirm it. Compare it with damage signs, then…
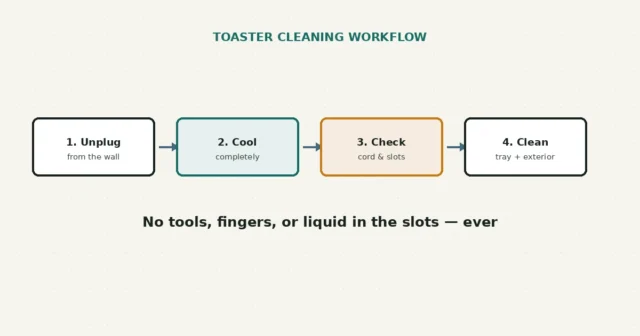
Unplug, let cool, then clean only the removable crumb tray and exterior. Crumb buildup is a documented fire risk, but…
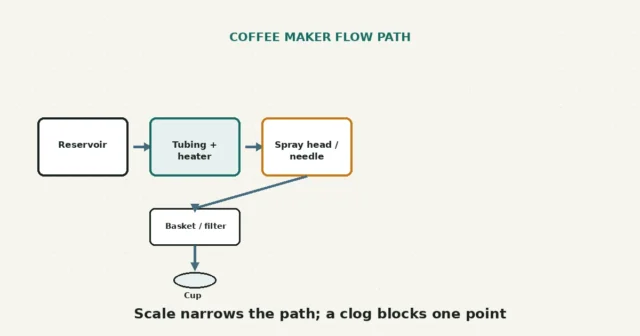
Slow brewing may trace to a removable clog or mineral scale, but cleaning cannot rule out an internal fault. Compare…